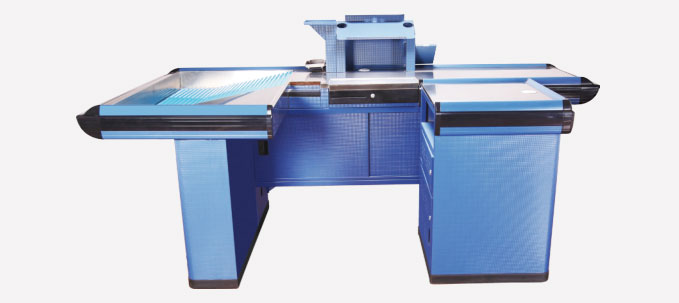
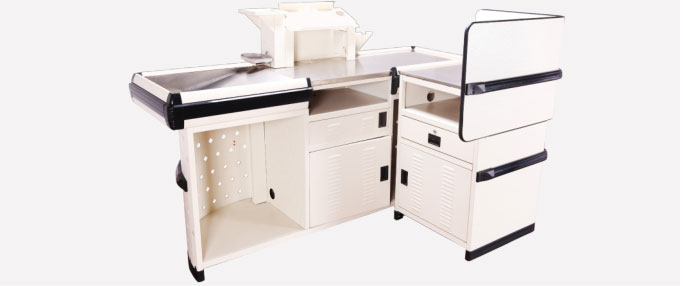
Introduction to DIY Checkout Counters
In today’s fast-paced retail environment, having a functional and attractive checkout counter is essential for any store. However, purchasing a pre-made counter can be costly and may not fit your specific needs. That’s where a DIY checkout counter comes into play. Building your own checkout counter can be a cost-effective and creative solution to enhance your retail space. But where do you start?
Why Choose a DIY Checkout Counter?
Before diving into the process, it’s important to understand the benefits of a DIY checkout counter.
1. **Cost-Effectiveness**: Building your own counter can save you a significant amount of money compared to buying a pre-made one.
2. **Customization**: With a DIY project, you can design the counter to fit your store’s unique style and space requirements.
3. **Sustainability**: Using reclaimed or recycled materials can make your project eco-friendly.
4. **Skill Development**: It’s a great way to improve your DIY skills and take pride in your handiwork.
Materials Needed for Your DIY Checkout Counter
To get started, you’ll need the following materials:
– 2×4 lumber for the frame
– Plywood or MDF for the countertop
– Wood screws
– Drill and screwdriver
– Sandpaper
– Paint or stain (optional)
– Decorative trim (optional)
– Cash drawer and card reader (if applicable)
Step-by-Step Guide to Building Your DIY Checkout Counter
1. **Plan Your Design**: Sketch out a design that fits your space and needs. Consider the height, length, and any additional features like storage compartments.
2. **Build the Frame**: Use the 2×4 lumber to create the base of the counter. Make sure it’s sturdy and level.
3. **Attach the Countertop**: Cut the plywood or MDF to the desired size and attach it to the frame using wood screws.
4. **Sand and Finish**: Sand the entire structure to smooth out any rough edges. If desired, paint or stain the counter to match your store’s aesthetic.
5. **Add Functional Features**: Install a cash drawer, card reader, and any other necessary equipment.
6. **Final Touches**: Add decorative trim or other embellishments to give your counter a polished look.
Design Considerations for Your DIY Checkout Counter
When building your DIY checkout counter, there are a few design elements to keep in mind:
1. **Ergonomics**: Ensure the counter is at a comfortable height for both employees and customers.
2. **Durability**: Choose materials that can withstand heavy use and spills.
3. **Aesthetics**: The counter should complement your store’s décor and brand identity.
4. **Functionality**: Include enough space for a cash register, receipts, and any other necessary items.
Tips for Optimizing Your DIY Checkout Counter
To make the most of your DIY project, consider the following tips:
1. **Use Reclaimed Wood**: Not only is it eco-friendly, but it can also add a unique, rustic charm to your counter.
2. **Incorporate Lighting**: Add under-counter lighting to create a welcoming ambiance.
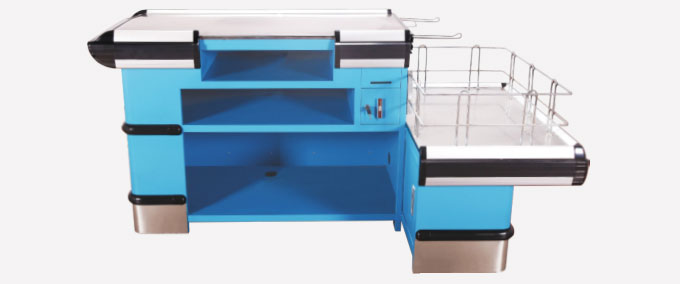
3. **Add Storage**: Include shelves or cabinets underneath the counter for extra storage space.
4. **Personalize It**: Add your store’s logo or branding elements to make the counter stand out.
Common Mistakes to Avoid
While building a DIY checkout counter can be a fun and rewarding project, there are a few common mistakes to avoid:
1. **Rushing the Process**: Take your time to ensure each step is done correctly. Rushing can lead to a poorly constructed counter.
2. **Ignoring Measurements**: Double-check all measurements to ensure the counter fits perfectly in your space.
3. **Skipping Sanding**: Sanding is crucial for a smooth finish and to prevent splinters.
4. **Overloading the Counter**: Don’t add too much weight to the counter. Ensure it’s sturdy enough to hold all necessary items.
Conclusion
Building a DIY checkout counter is a great way to save money, customize your retail space, and showcase your creativity. With the right materials and a bit of patience, you can create a functional and attractive checkout counter that enhances your store’s overall appearance. So, grab your tools and get started on your DIY project today!